
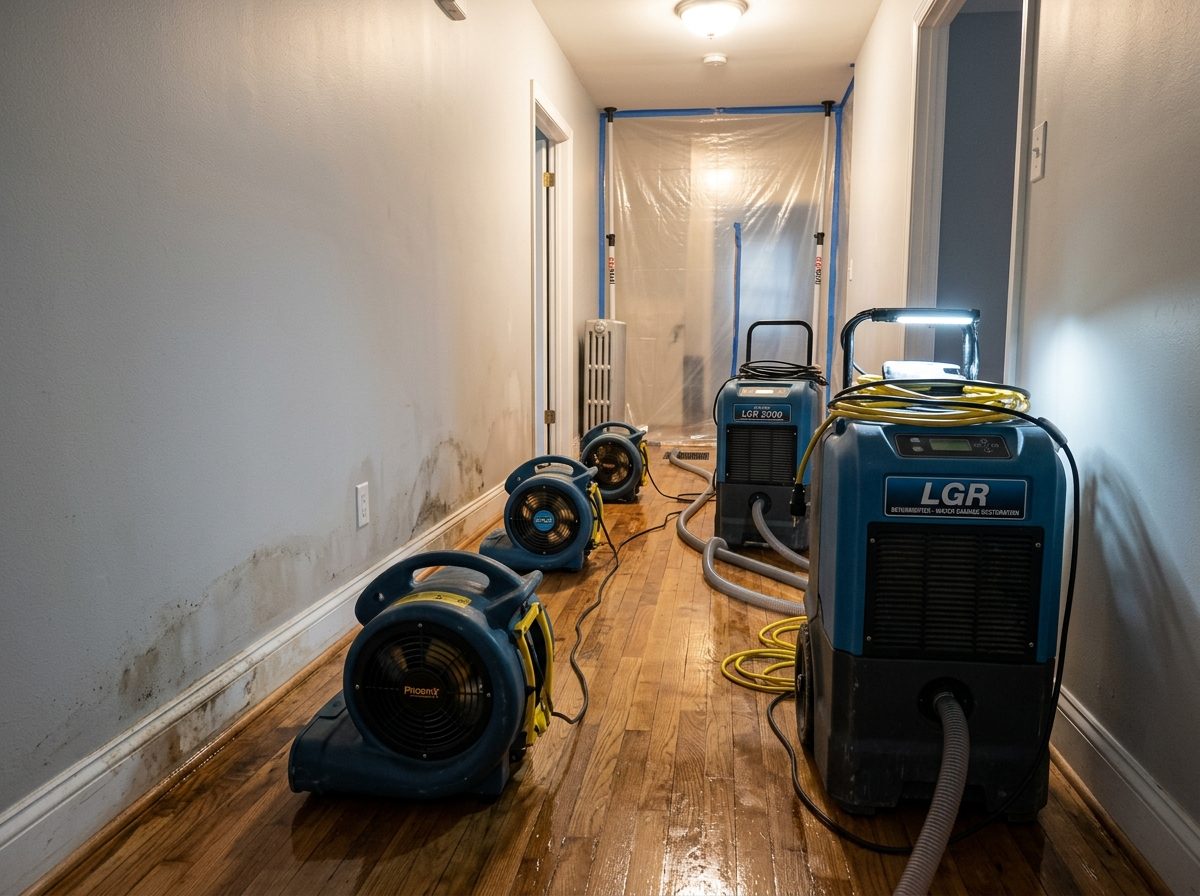
What to Check First
If the leak appears to be coming from an air handler, drain pan, or condensate line, stop the HVAC system if continued operation is adding water. Check the floor below the unit, nearby baseboards, the ceiling beneath an attic or elevated air handler, and adjoining walls or closets. Clearing the drain or fixing the HVAC source does not remove moisture already absorbed by building materials.
First Priorities
- Stop or isolate the source if you can do so safely.
- Avoid standing water around electrical equipment, outlets or cords.
- Protect people from slipping, falling ceiling material or contaminated water.
- Document the visible source and affected rooms when safe.
- Remove standing water and check where it migrated rather than drying only the visible surface.
Why This Type of Water Loss Is Easy to Underestimate
Florida air conditioners remove indoor moisture as they cool. UF/IFAS notes that humidity control is part of AC operation, which is why an AC-related leak can create a double problem: unwanted liquid water plus reduced dehumidification if the system is shut down for repair.
Water follows gravity, seams, gaps and absorbent materials. It can wick upward in drywall, pass under baseboards, move beneath floating floors and collect in low areas. Effective mitigation requires two immediate steps: taking safe action to control moisture release, and thoroughly evaluating adjacent assemblies where water may have travelled.
Where the Water Commonly Goes
| Condition | Extraction / drying concern |
|---|---|
| Ceiling below air handler | Check drywall, insulation and wall intersections; keep people away from sagging or heavily saturated ceiling material. |
| HVAC closet | Inspect floor, wall base, adjacent rooms and any penetration where water can move. |
| Condensate line leak | Correct the drainage issue, then map the wet area; a cleared line does not dry absorbed water. |
| LVP/laminate near unit | Check seams and perimeter migration because water may travel beneath the finished surface. |
Water Extraction and Drying Sequence
- Confirm that the source is stopped or controlled and identify whether the water may be contaminated.
- Extract liquid water from accessible surfaces and materials where appropriate.
- Check adjacent flooring, wall base, drywall, cabinets/closets and the room on the other side of affected walls when migration is possible.
- Set drying conditions for materials that are appropriate to retain.
- Recheck moisture and adjust the plan if a material is not responding or has deteriorated.
What Not to Do
- Do not assume a dry top surface means the layer underneath is dry.
- Do not place household fans in a sewage or outdoor-floodwater area before contamination is evaluated.
- Do not close the wall or reinstall baseboards/flooring over materials that are still wet.
- Do not make insurance-coverage assumptions before reviewing the actual policy and loss circumstances.
Source-Specific Inspection Map
The visible puddle is the starting point, not the boundary. For this type of loss, the inspection should deliberately include the following areas when they are present and safely accessible:
- Air-handler or fan-coil closet
- Condensate pan and drain route
- Ceiling or wall directly below/adjacent
- Flooring around the mechanical closet
- Baseboards and the room on the other side of the wet wall
Information to Give the Water-Damage Team
- What failed or where the water first appeared
- Whether the source is stopped and who repaired or isolated it
- Approximate time the problem started or was discovered
- Whether the water contacted waste, outdoor floodwater, chemicals or other contaminants
- Rooms affected and whether water crossed thresholds or reached a lower level
- Any flooring, cabinet, ceiling or electrical concerns already visible
When DIY Cleanup Stops Being a Good Fit
A few ounces of clean water on a hard surface is very different from water that reached porous materials or hidden assemblies. Professional help becomes more useful when the affected area is large, water migrated under flooring or into walls, contamination is possible, the ceiling is involved, electrical conditions are uncertain, or you cannot confirm that materials are actually drying.
Documentation Before Materials Are Removed
When conditions are safe, take wide room photos plus close views of the source, water line, damaged finishes and contents. This creates a factual record before extraction or removal changes the scene. Do not delay urgent source control or safety work simply to take more photographs.
Frequently Asked Questions
Can I clean up a small amount myself?
Small, clean-water spills can sometimes be handled by the property owner when electrical conditions are safe and materials can be dried promptly. Call for help when water has spread into porous materials, hidden spaces, multiple rooms, contaminated areas or when you cannot verify drying.
How do I know whether water is under the flooring?
Clues can include water at seams, edge swelling, soft spots, changes in sound underfoot, moisture readings and water emerging at perimeter gaps. A dry surface alone is not proof.
When should drywall be removed?
Removal depends on contamination, swelling, deterioration, insulation/cavity conditions and whether the assembly can be dried effectively. EPA guidance notes that intact drywall may sometimes be dried in place after clean-water damage, but damaged or contaminated materials may need removal.
Sources & Further Reading
- US EPA — Water Damage Cleanup and Mold Prevention Table: https://www.epa.gov/sites/default/files/2014-08/documents/table1.pdf
- US EPA — A Brief Guide to Mold, Moisture and Your Home: https://www.epa.gov/mold/brief-guide-mold-moisture-and-your-home
- UF/IFAS — Energy Efficient Homes: Air Conditioning: https://ask.ifas.ufl.edu/publication/FY1026